Gallery walls · Layouts
Six gallery wall layouts, with the measurements included.
Most gallery wall guides show you a photograph and wish you luck. These are the six arrangements that reliably work, what each one needs from your wall, and the numbers to set them out.
Arithmetic, not opinion. Every measurement below is either a standard paper size or a calculation, and the working is shown. Check it against your own wall before you drill.
The one decision that comes first
Every layout below assumes a consistent gap. Pick one number between 5 and 8 cm and use it everywhere — between frames, in both directions, across the whole wall. Uneven gaps are what makes an arrangement read as chaotic, far more than mismatched frames or subjects do. Small prints take 5 cm; anything A2 and up takes 7 or 8.
Then treat the whole group as one rectangle. Its centre goes at 145 cm, or 15–25 cm above whatever furniture sits below it. Nothing inside the group is measured against the wall.
1. The row of three
Three identical sizes, evenly spaced, in a line. It is the least fashionable answer and the one that works most often — particularly above a sofa or a bed, where the furniture is already a long horizontal.
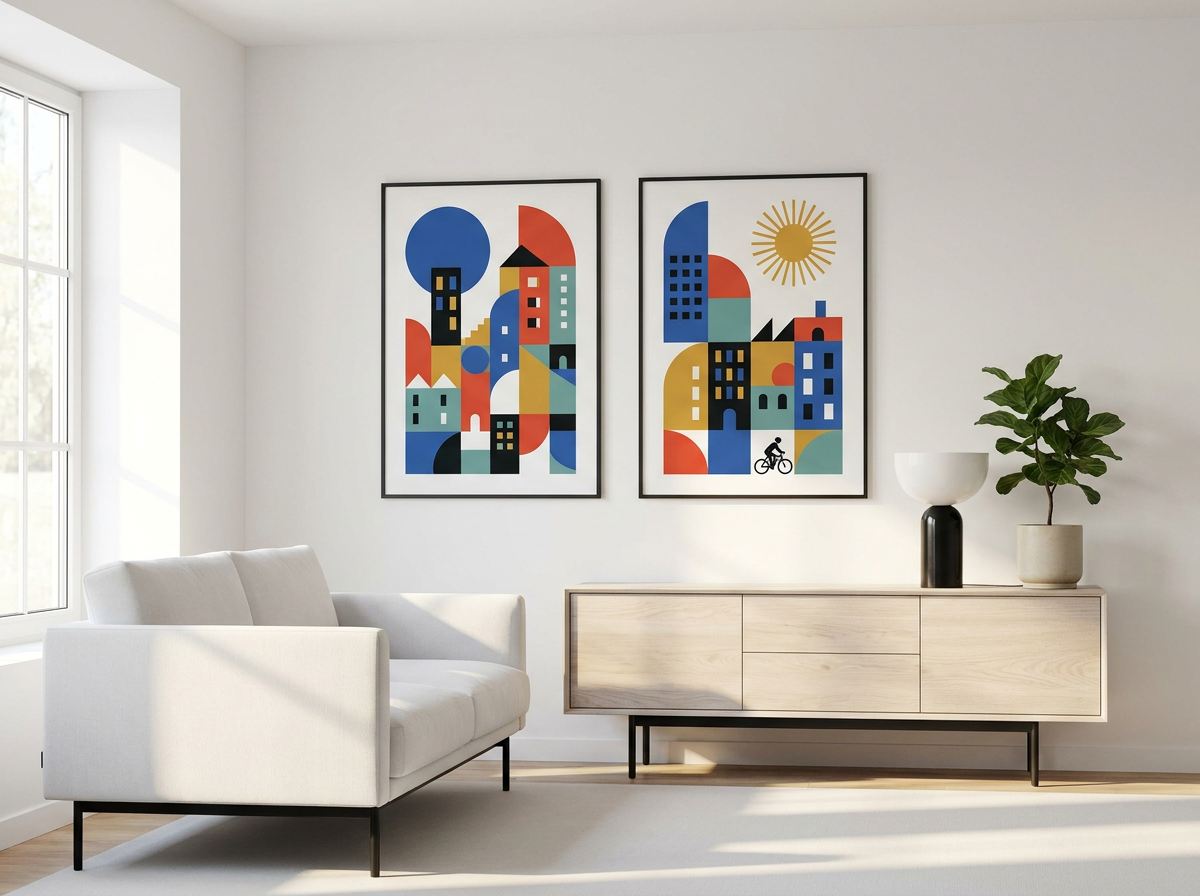
Three A2s portrait with 7 cm gaps: 42 × 3 = 126, plus 14 of gaps = 140 cm wide. That is two-thirds of a 210 cm three-seater, which is exactly where you want to be. Framed and matted, allow closer to 190 cm and check the wall can take it.
2. The pair
Two matching pieces, side by side. Best above a queen bed or a narrow sofa, and the easiest arrangement to get right because there is only one gap to be wrong about.
Two A2s with a 15 cm gap: 99 cm wide, which lands neatly on the 102 cm target for a queen. A pair can carry a wider gap than a row of three — up to about 15 cm before they stop reading as a set.
3. The grid
Four, six or nine identical frames in even rows and columns. Formal, calm, and unforgiving: every gap must be identical or the eye finds the error immediately. Suits a hallway, a stairwell landing, or a large blank wall with nothing under it.
Six A4s, three across and two down, 5 cm gaps: (21 × 3) + (5 × 2) = 73 cm wide; (29.7 × 2) + 5 = 64.4 cm tall. Frames add roughly 8 cm per print in each direction, so budget about 97 × 80 cm of wall.
4. The salon hang
Mixed sizes packed around a central anchor piece. The most forgiving of the layouts in terms of what you can include, and the hardest to set out. Two rules make it work: keep the outer edge of the whole group as close to a rectangle as you can manage, and keep the gaps constant even though nothing else is.
Start with the biggest piece slightly off centre, then build outward, alternating orientation so no two portraits sit directly above one another. Lay the whole thing out on the floor first — photographing the floor layout from directly above is a genuinely useful step, because the photo shows you imbalances your eye is compensating for.
5. The ledge
A picture rail or shelf with frames leaning against the wall, overlapping slightly. No holes beyond the two that hold the ledge, and the arrangement can change whenever you like — which makes it the right answer for a rental, and for anyone who is not sure yet.
Mount the ledge at about 135 cm so that leaning A3s and A4s land near eye level. Overlap each frame over the one behind by around a third; evenly spaced frames on a ledge look like a shop display.
6. The staircase run
A diagonal that climbs with the stairs. Keep each frame's centre 145 cm above the tread directly below it and the group takes care of itself. Identical sizes work far better here than mixed ones, because the diagonal is already doing the visual work.
Choosing what goes in them
A gallery wall holds together through one shared constraint, not several. Pick exactly one: a single palette across mixed subjects, one subject across mixed palettes, or identical frames around anything at all. Two constraints is fine and three is a catalogue page. If you are unsure, the palette is the constraint to keep — it is the one people notice from the doorway, and it is the one the matcher can settle for you from a photo.
Get the exact nail positions
Give it your wall width and the print sizes, and it returns the exact gaps and nail positions — no paper templates, no second set of holes.
Or pick the palette first
Photograph the room, and the matcher reads the palette out of it — then shows you which prints sit in those colours, and what they look like on paper rather than on a screen.